Craving Chinese takeout but want something homemade and fresh? Look no further than Sweet and Sour Chicken, a beloved dish that’s both crispy and coated in a tangy sauce that dances between sweet and savory. With golden-brown chicken bites, colorful bell peppers, onions, and juicy pineapple chunks, this recipe is a weeknight dinner winner and a party favorite. The best part? You can make it right in your kitchen without needing restaurant skills.
What is Sweet and Sour Chicken?
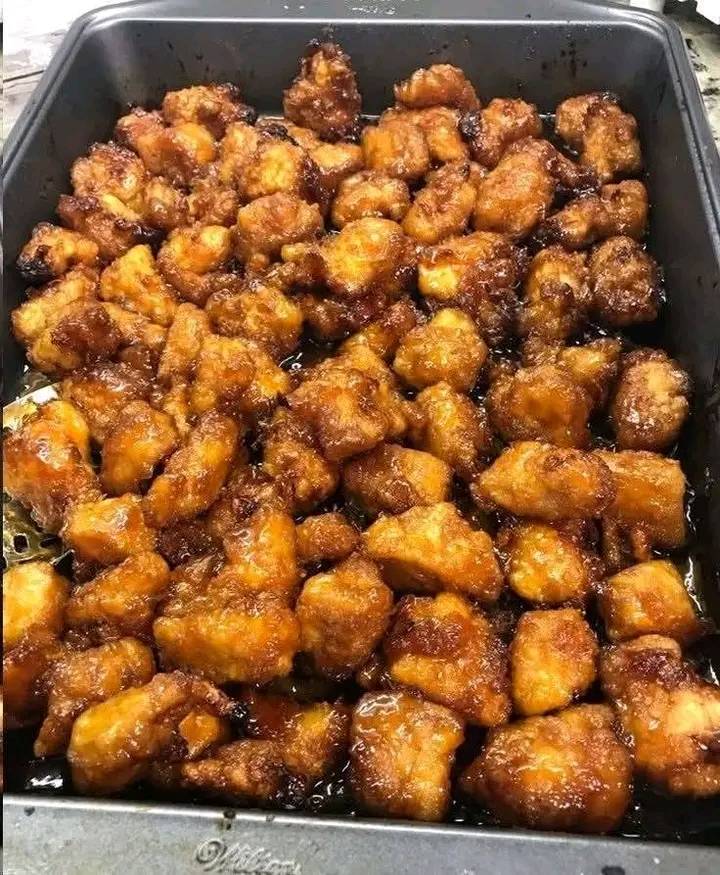
Sweet and Sour Chicken is a popular Chinese-American dish made with battered and fried chicken pieces that are tossed in a sweet yet tangy sauce. The flavor comes from a balance of vinegar, ketchup, soy sauce, and sugar, while the addition of pineapple and bell peppers creates a vibrant, refreshing bite. It’s often served over steamed rice or noodles, making it a complete, comforting meal.
Why You’ll Love This Recipe
- Crispy Perfection – The chicken stays crunchy even when coated in sauce.
- Bold Flavors – A perfect balance of sweet, tangy, and savory.
- Colorful & Fresh – Bell peppers and pineapple make it vibrant and refreshing.
- Better than Takeout – You control the ingredients, freshness, and seasoning.
- Family Favorite – Loved by kids and adults alike.
Ingredients You’ll Need
For the Chicken:
- 1 lb (450 g) boneless, skinless chicken breast or thighs (cut into bite-sized chunks)
- 1 cup cornstarch
- 2 large eggs (beaten)
- 1/2 cup all-purpose flour
- 1/2 tsp salt
- 1/4 tsp black pepper
- Vegetable oil (for frying)
For the Vegetables:
- 1 red bell pepper (chopped)
- 1 green bell pepper (chopped)
- 1 medium onion (cut into chunks)
- 1 cup pineapple chunks (fresh or canned)
For the Sweet and Sour Sauce:
- 1/2 cup ketchup
- 1/3 cup rice vinegar (or apple cider vinegar)
- 1/3 cup sugar
- 2 tbsp soy sauce
- 1 tbsp cornstarch (mixed with 2 tbsp water – slurry)
- 1/2 cup pineapple juice (from can or fresh)
Step-by-Step Directions
Step 1: Prep the Chicken
- Cut chicken into bite-sized chunks.
- Season with salt and pepper.
- Dredge chicken in cornstarch, dip in beaten eggs, then coat lightly with flour.
Step 2: Fry the Chicken
- Heat oil in a large pan or wok over medium-high heat.
- Fry chicken in batches until golden brown and crispy (about 5–6 minutes per batch).
- Remove and drain on a paper towel–lined plate.
Step 3: Stir-Fry the Veggies
- In a separate pan or wok, add 1 tbsp oil.
- Stir-fry onions and bell peppers for 2–3 minutes until slightly tender but still crisp.
- Add pineapple chunks and cook for another 1–2 minutes.
Step 4: Make the Sauce
- In a small bowl, whisk ketchup, vinegar, sugar, soy sauce, and pineapple juice.
- Pour mixture into the wok and bring to a simmer.
- Stir in cornstarch slurry and cook until sauce thickens.
Step 5: Combine Everything
- Add fried chicken to the wok with vegetables.
- Toss everything in the sauce until evenly coated.
- Serve immediately over rice or noodles.
Tips for Crispy and Flavorful Chicken
- Double Fry for Extra Crunch – Fry chicken once, let it rest, then fry again quickly.
- Don’t Overcrowd the Pan – Fry chicken in batches for even crispiness.
- Drain Excess Oil – Place fried chicken on a wire rack instead of paper towels for better crunch.
- Adjust Sauce Sweetness – If you prefer less sweet, reduce sugar slightly.
- Use Fresh Pineapple – It enhances the natural sweetness and freshness.
Variations and Add-Ins
- Sweet and Sour Shrimp – Swap chicken for shrimp.
- Healthier Option – Bake chicken instead of frying.
- Spicy Twist – Add chili flakes or sriracha to the sauce.
- Extra Veggies – Add zucchini, snap peas, or broccoli.
- Gluten-Free Version – Use gluten-free flour and tamari instead of soy sauce.
Serving Suggestions
- Serve over steamed white rice or jasmine rice for a classic combo.
- Pair with fried rice or noodles for a hearty meal.
- Add a side of spring rolls or egg rolls for a restaurant-style dinner.
- Garnish with green onions and sesame seeds for extra flavor.
Storage and Reheating
- Refrigerate – Store leftovers in an airtight container for up to 3 days.
- Freeze – Store chicken and sauce separately for up to 2 months.
- Reheat – Warm in a skillet over medium heat to maintain crispiness, or microwave for a quick option.
Nutrition Information (Per Serving – 1/4 of recipe)
- Calories: 410
- Protein: 26g
- Fat: 15g
- Carbohydrates: 42g
- Sugar: 18g
- Fiber: 2g
Values may vary depending on portion sizes and cooking method.
Frequently Asked Questions (FAQs)
Q: Can I make Sweet and Sour Chicken without frying?
Yes, you can bake the chicken at 400°F (200°C) for 20–25 minutes, flipping halfway through.
Q: Can I prepare the sauce ahead of time?
Absolutely. The sauce can be stored in the fridge for up to 3 days. Reheat before using.
Q: What’s the best cut of chicken to use?
Chicken thighs are juicier, but chicken breast works well for a leaner option.
Q: Can I make this dish vegetarian?
Yes, replace chicken with tofu or cauliflower for a vegetarian version.
Q: How do I keep the chicken crispy after adding sauce?
Toss chicken in sauce just before serving to maintain crunch.
Final Thoughts
Sweet and Sour Chicken is the ultimate comfort food that brings restaurant-quality flavors straight to your kitchen. With crispy chicken, a tangy-sweet sauce, and colorful vegetables, it’s a dish that satisfies all cravings. Whether you’re cooking for family, hosting friends, or simply treating yourself, this homemade version is fresher, tastier, and healthier than takeout. Once you try it, you’ll never go back to store-bought again.
So grab your wok, some juicy pineapple, and a bowl of rice—it’s time to enjoy homemade Sweet and Sour Chicken that’s sure to impress!